Drawing:a4z_-ymtkr8= cat: A Simple Guide for Beginners
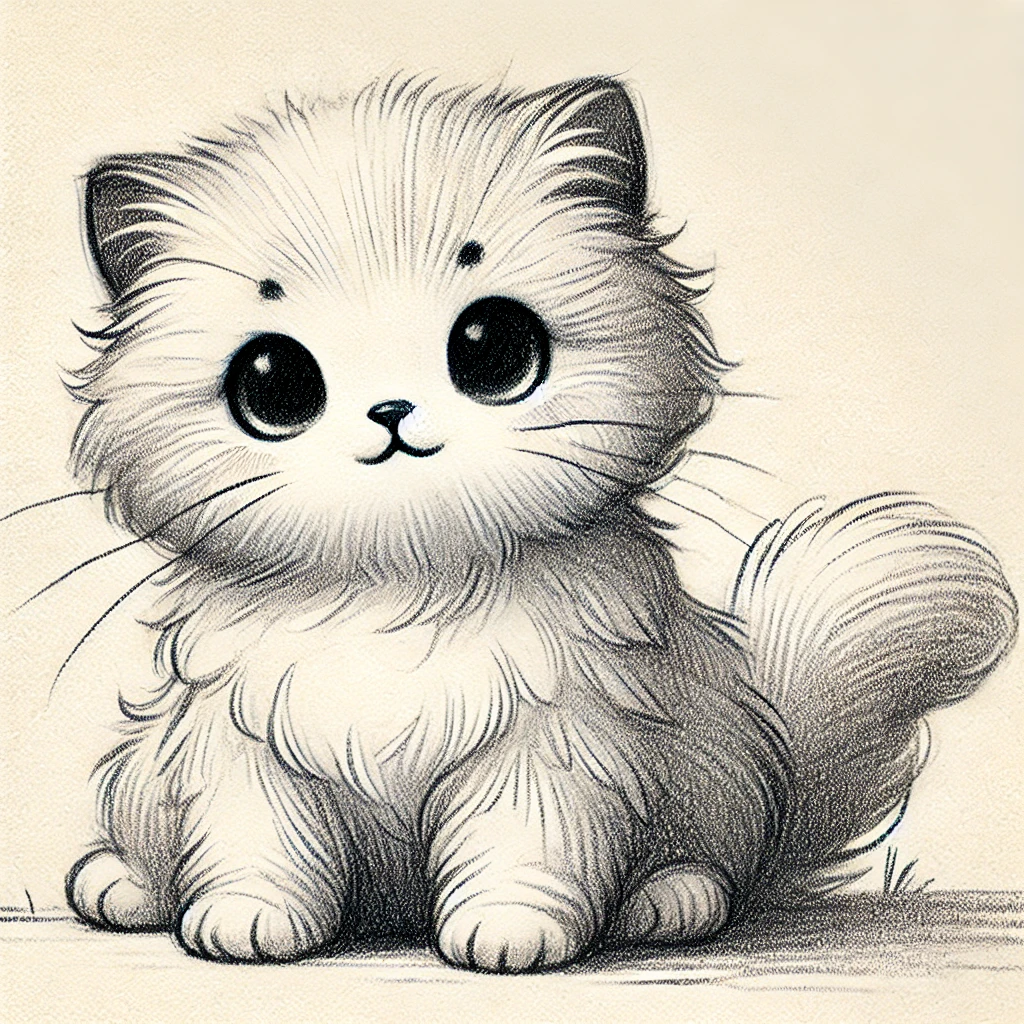
Table of Contents
Drawing:a4z_-ymtkr8= cat a cat can be a fun and relaxing activity. Whether you are an aspiring artist or just someone who loves cats, creating your own sketch of a playful kitty is a great way to improve your drawing skills. In this guide, we will walk you through the steps to draw a cat, even if you are a complete beginner. The focus keyword for this guide is “drawing= cat.”
Step 1: Prepare Your Drawing Materials Drawing:a4z_-ymtkr8= cat
Drawing:a4z_-ymtkr8= cat Before you begin your cat drawing, it is important to gather the necessary materials. While you can use any tools available, starting with basic pencils and a sheet of paper is the best approach. For beginners, a simple graphite pencil will do, but if you are more experienced, you might want to use charcoal or colored pencils to add more depth to your cat sketch. Drawing:a4z_-ymtkr8= cat
Tips for choosing materials:
- Start with an HB pencil for light lines. Drawing:a4z_-ymtkr8= cat
- Keep an eraser handy for corrections. Drawing:a4z_-ymtkr8= cat
- Choose a clean sheet of drawing paper or a sketchpad. Drawing:a4z_-ymtkr8= cat
With your materials ready, you are set to begin your cat drawing journey. Drawing:a4z_-ymtkr8= cat
Step 2: Sketching the Cat’s Head
Drawing:a4z_-ymtkr8= cat When it comes to drawing a cat, the head is often the focal point of the drawing. To begin, lightly sketch a circle to form the base of the cat’s head. This will act as a guide for drawing the rest of the facial features. Make sure to draw it lightly, as you will be erasing this guideline later. Drawing:a4z_-ymtkr8= cat
Once the circle is drawn, divide it into two halves both vertically and horizontally. These lines will help position the cat’s eyes, nose, and mouth symmetrically. Next, draw the ears above the head, making them pointy and curved, similar to a cat’s actual ears.
Step 3: Adding the Eyes, Nose, and Mouth Drawing:a4z_-ymtkr8= cat
Now that you have the basic shape of the head, it is time to add the cat’s facial features. Start by sketching two large oval shapes for the eyes. Cats have wide and expressive eyes, so drawing them a bit larger than life will make your sketch stand out. Drawing:a4z_-ymtkr8= cat
Beneath the eyes, draw a small triangle for the nose. The nose should be centered along the vertical guideline you made earlier. From the nose, draw two small lines that angle downwards to form the mouth. Make the mouth appear soft and gentle, as cats often have relaxed expressions. Drawing:a4z_-ymtkr8= cat
Adding Detail to Your Cat Drawing
Once you have the basic outline and facial features in place, it is time to add some detail to bring your drawing to life. Adding fur texture is a great way to make your cat drawing look realistic. Instead of drawing straight lines for the fur, use small, curved strokes to mimic the softness of a cat’s fur.
At this point, you can also shade the cat’s eyes to make them appear more lively. Use darker shades around the pupils and lighter shading around the outer edges to create depth.
Step 4: Drawing the Cat’s Body and Tail
After finishing the head, it is time to work on the body. Start by drawing a soft curved line from the base of the head to form the back of the cat. Then, draw another line from the front of the head to create the chest. Cats have sleek bodies, so make sure your lines are fluid and gentle.
Once the body is outlined, sketch the legs and paws. Cats often sit in a curled position, so draw the paws resting close to the body. Lastly, draw the cat’s long, curved tail. A cat’s tail is one of its most expressive features, so feel free to make it curl playfully.
Step 5: Final Touches
With the basic structure of the cat complete, now is the time to add any final details. You can add whiskers, additional shading, or even some background elements to make your drawing more dynamic. If you are feeling creative, you can add fur patterns such as stripes or spots to give your cat a unique look.
Lastly, go over your drawing with a darker pencil or ink to finalize the lines. Erase any remaining guidelines, and your drawing will be complete!
FAQs About Drawing Cats
Q: Is it hard to draw a cat? A: Drawing a cat can be simple if you follow the right steps. Start with basic shapes and gradually add details. With practice, your cat drawings will improve.
Q: What materials are best for drawing a cat? A: Pencils are great for beginners, while more advanced artists can use colored pencils, charcoal, or digital tools to add depth and color to their drawings.
Q: How long does it take to learn to draw a cat? A: With consistent practice, you can learn to draw a simple cat sketch within a few hours. However, mastering realistic cat drawings may take longer.
Conclusion
Drawing a cat is not just an enjoyable pastime; it is also a great way to develop your artistic skills. By following this guide, you can create your own unique cat sketch, even if you are a beginner. Remember to practice regularly and be patient with yourself as you improve. As you continue, you will be able to add more details and complexity to your drawings. Happy sketching!


Post Comment